Quilotoa Loop Trek: 3 Days In The Ecuadorian Andean Mountains
Overview
The Quilotoa Loop is a popular trekking route for travelers and backpackers in Ecuador. The Quilotoa Loop is a self-guided multi-day hike in the Andes mountains. It's a must for budget backpackers who want to trek in Ecuador. While it doesn't receive as many visitors as other areas in South America, it is an excellent way to see the Ecuadorian Andean landscape and hike through a mix of wilderness, farmland, and pastures. Most of the people who live in the villages along the route have lived in the region their whole life and maintain traditional practices.
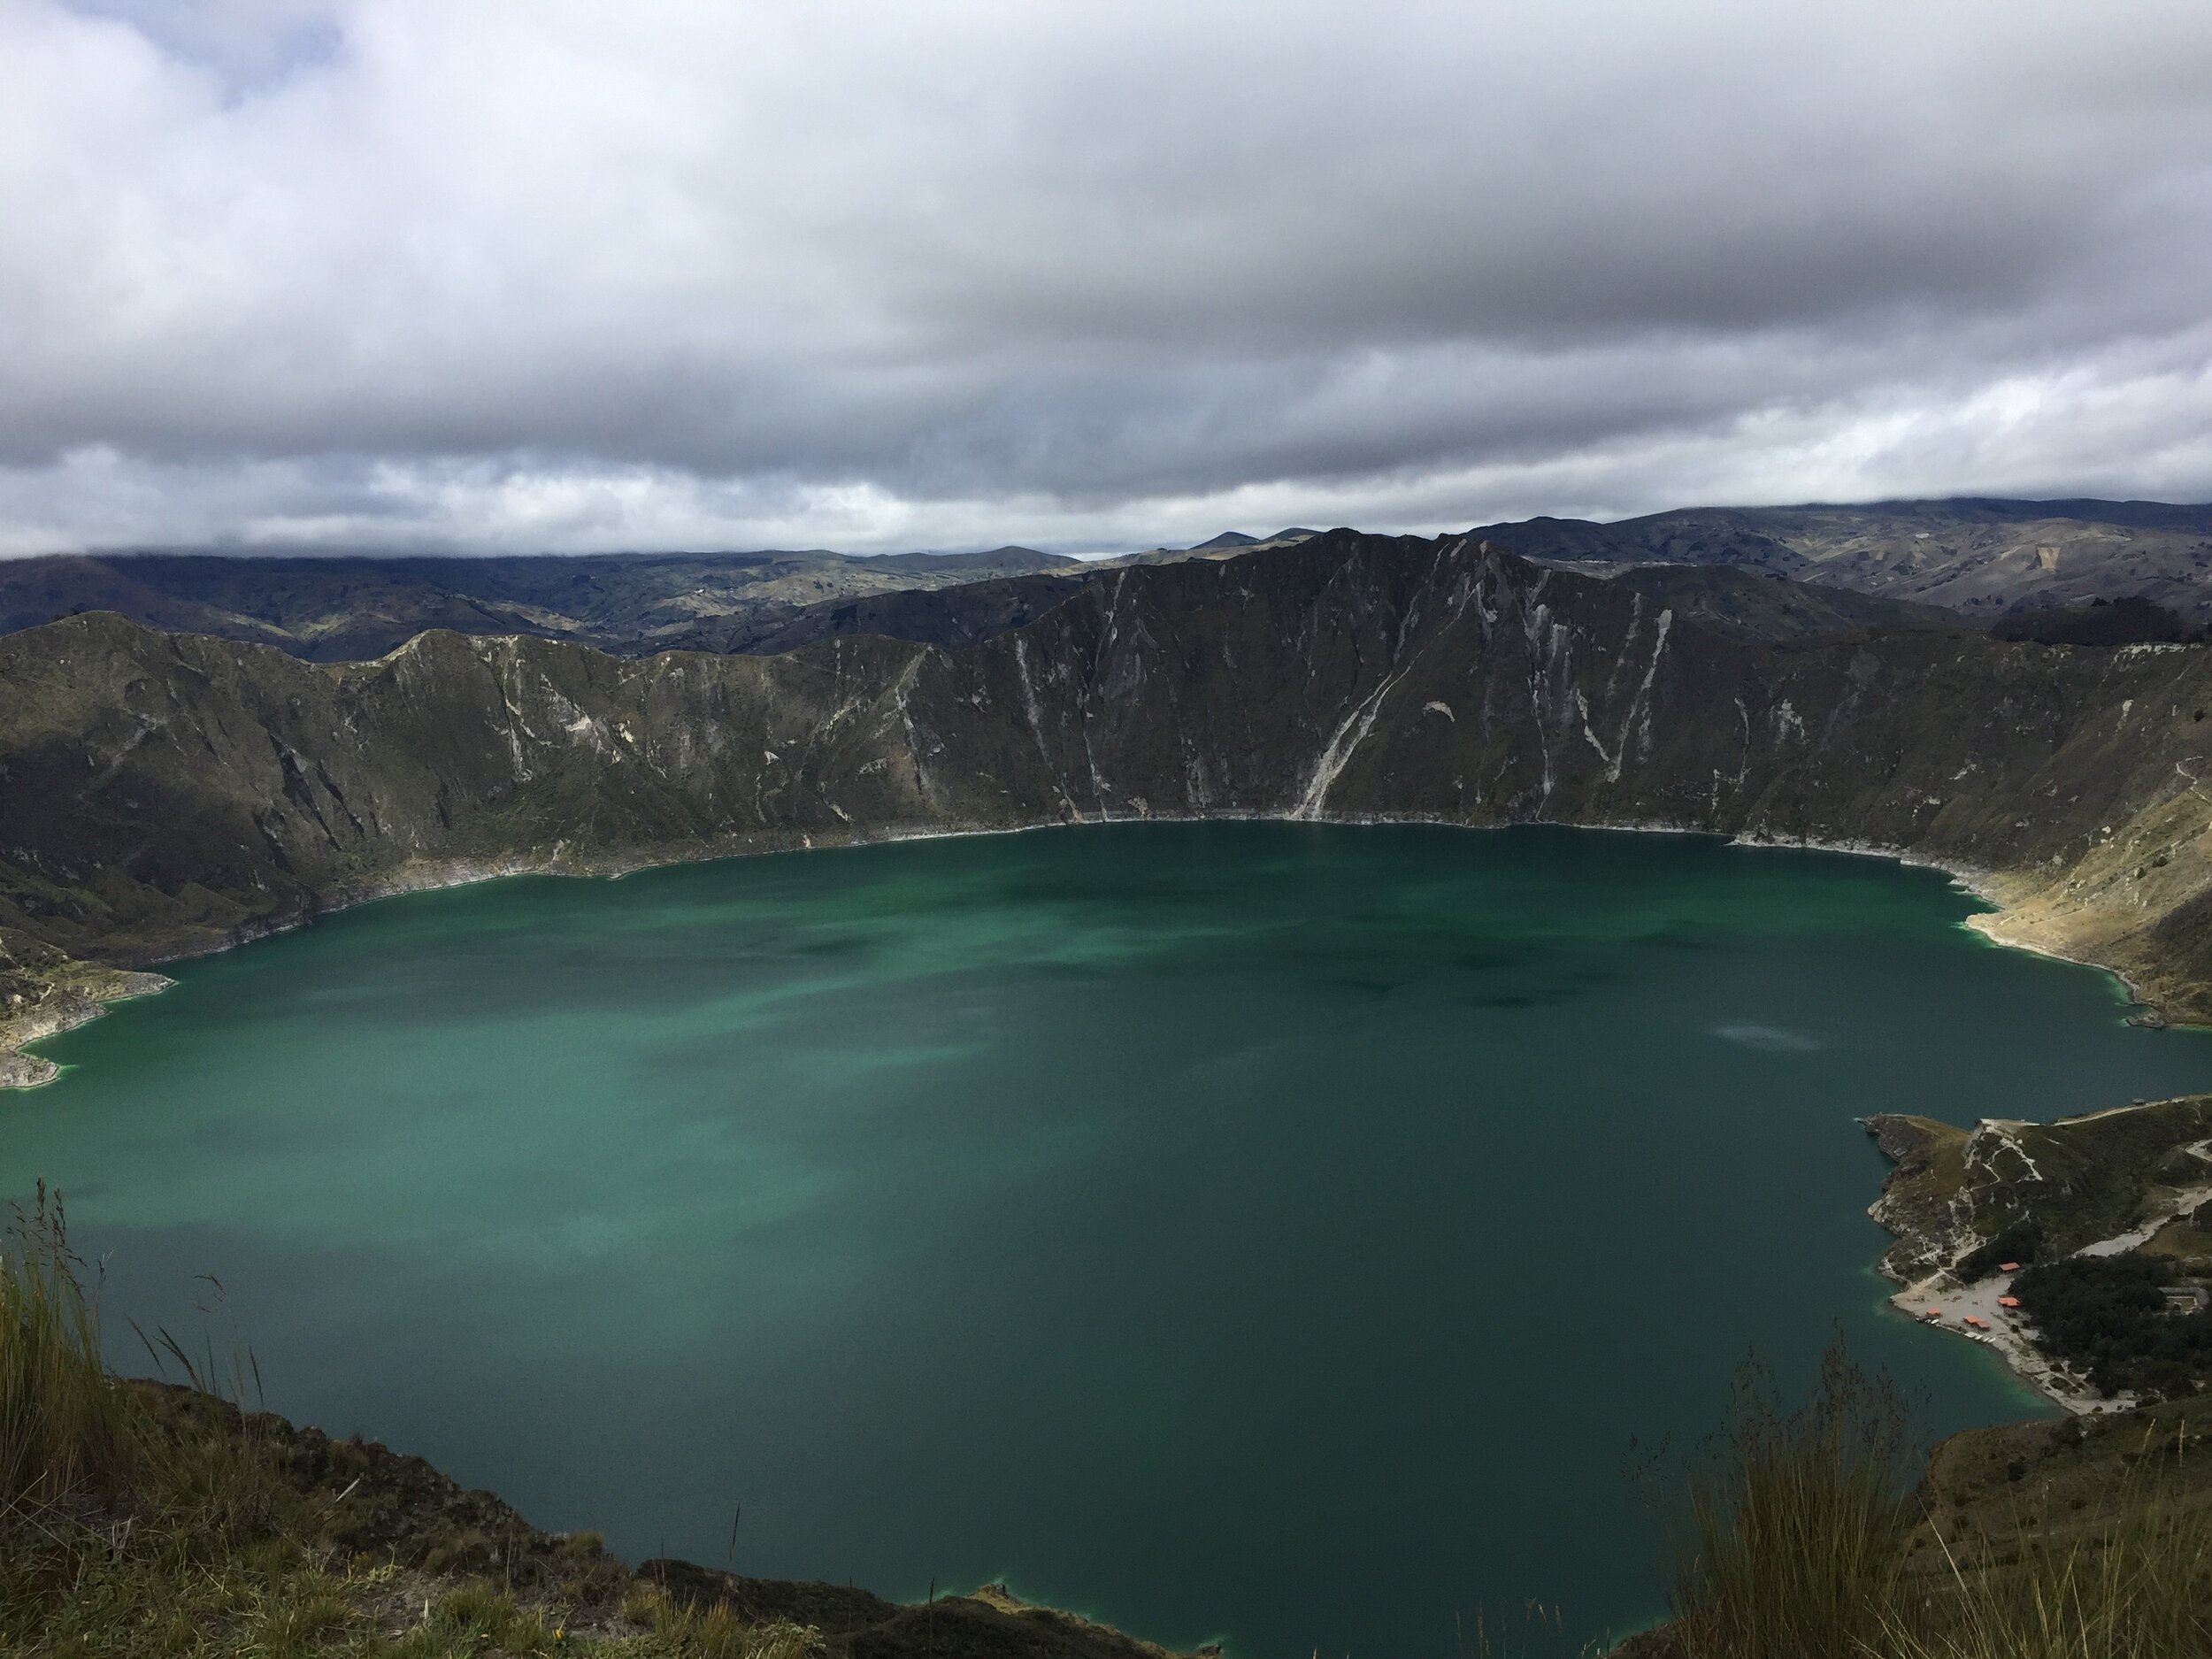
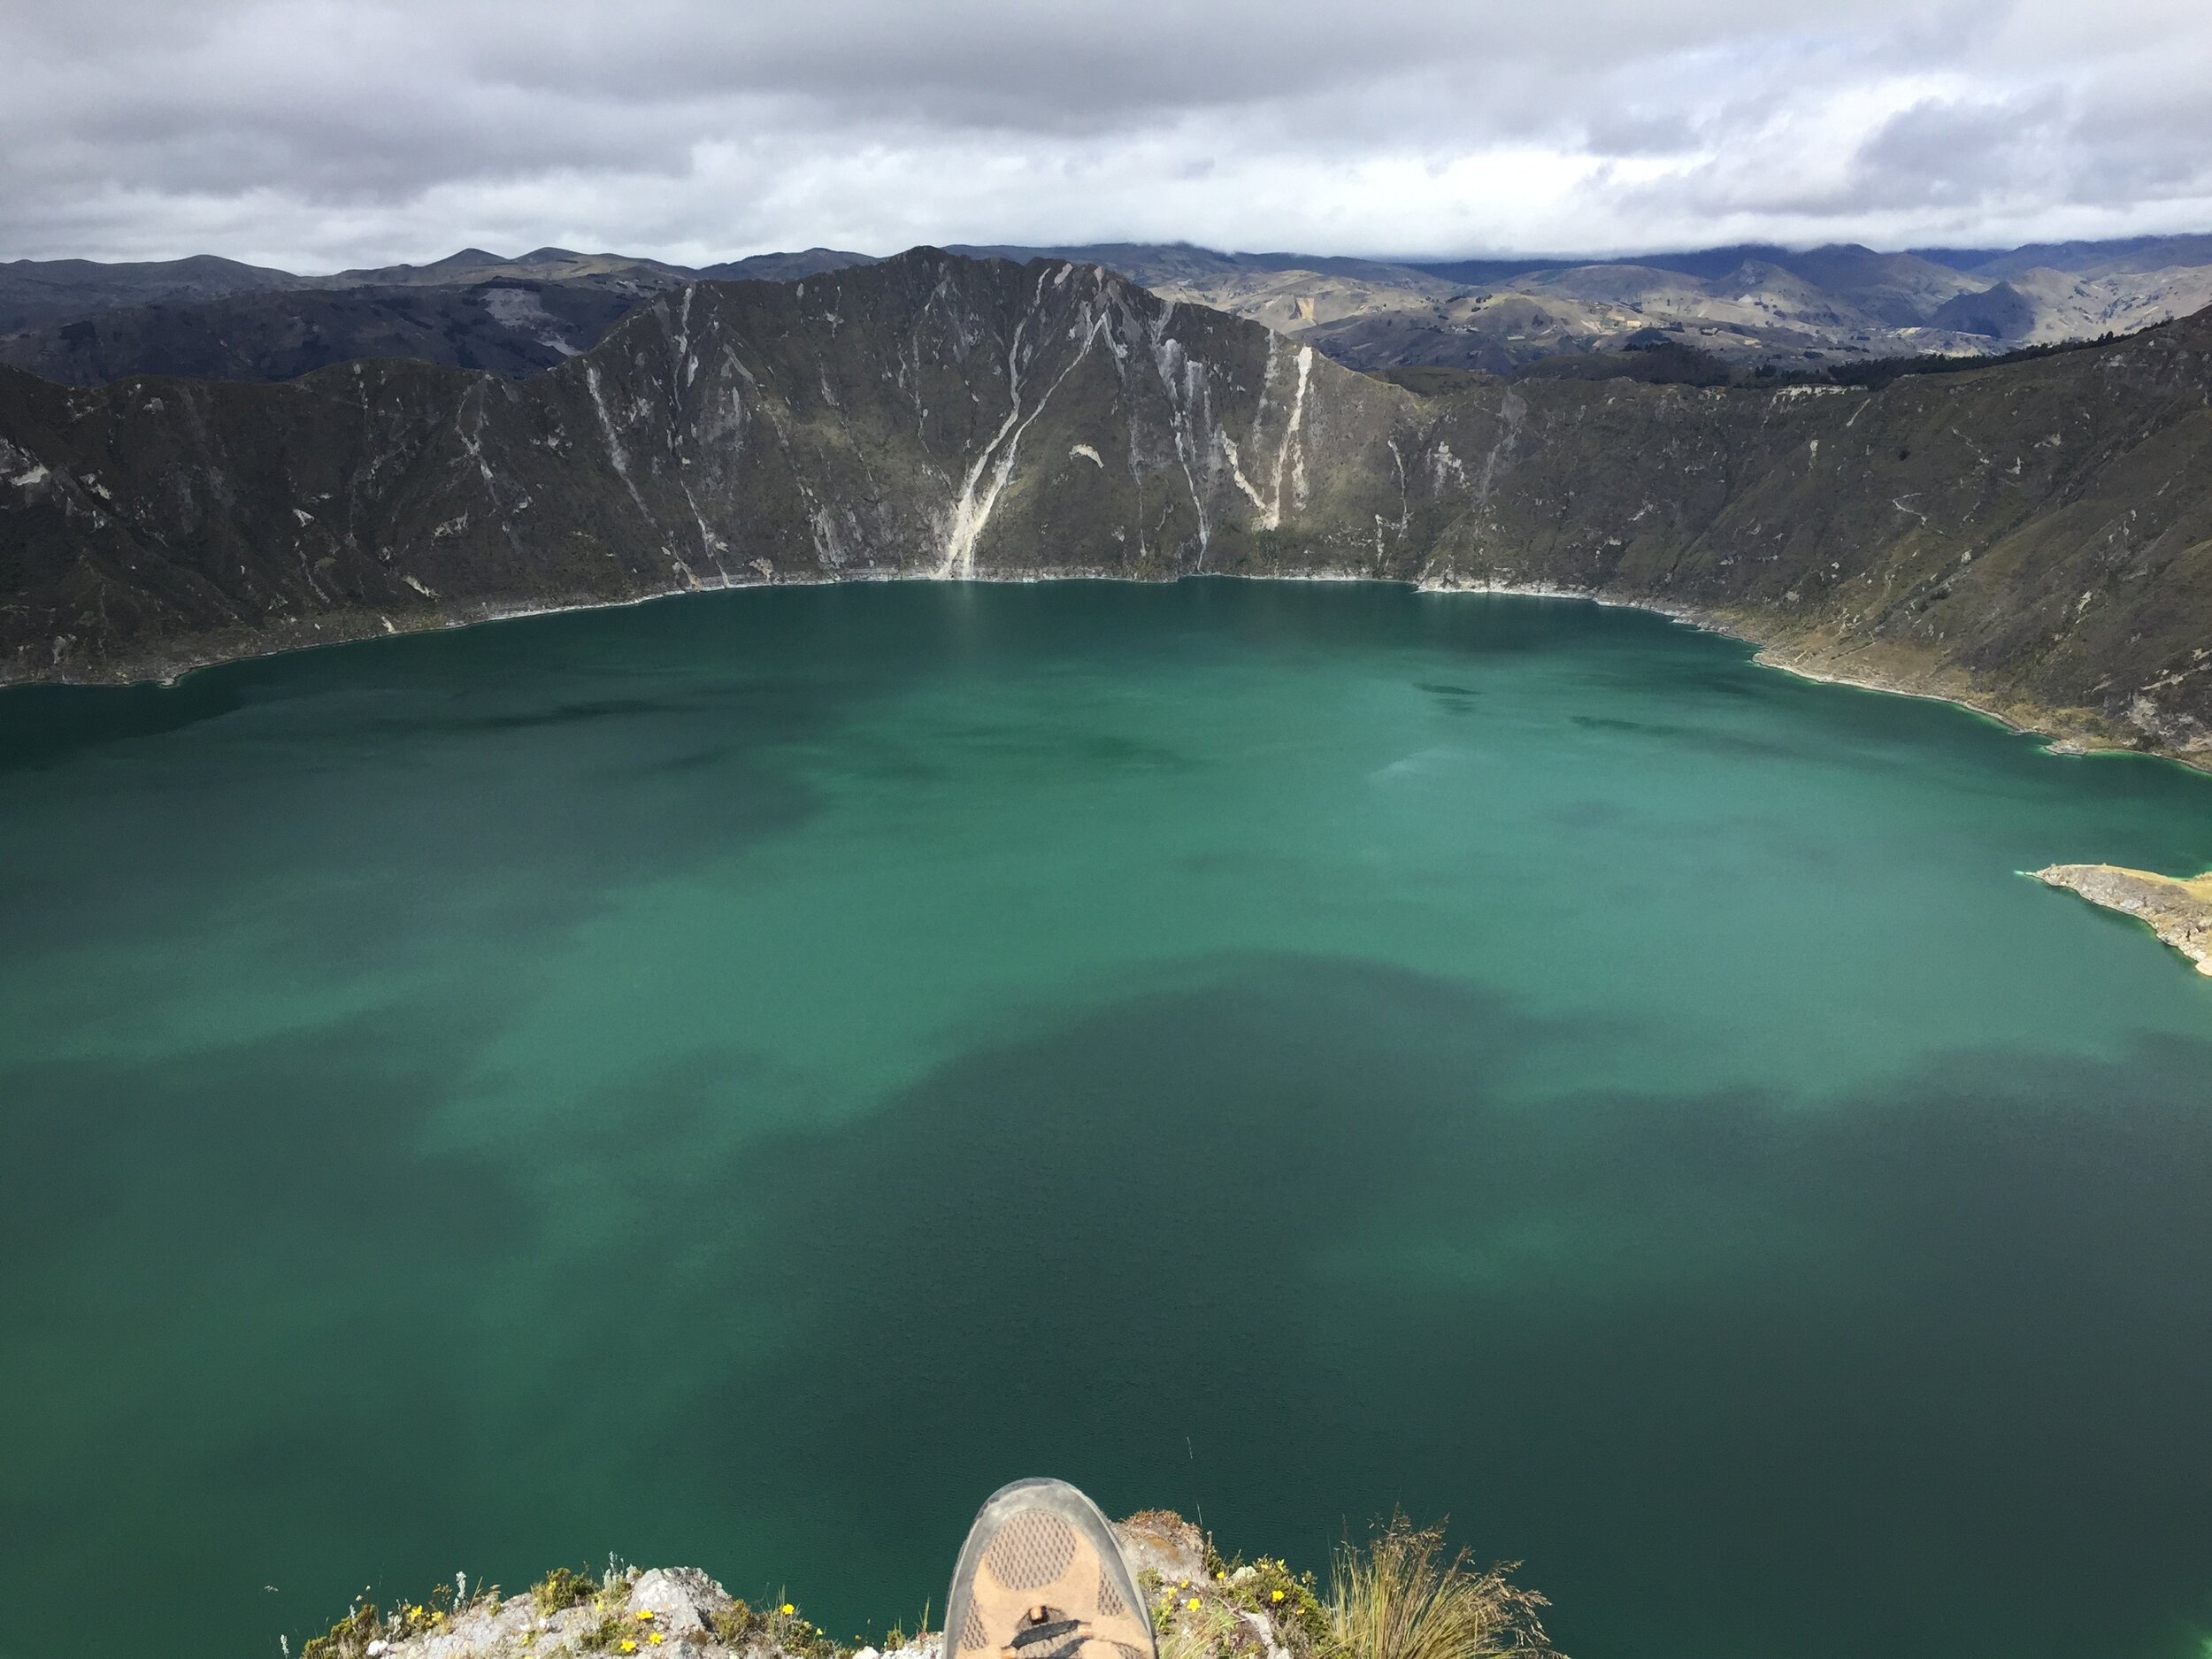
The route will guide you from the low end of the valley in Sichos, crossing the valley floor and a river each day before climbing to the crater. Over the full route, you'll ascend from 10,000 to 12,500 feet after ending at Laguna Quilotoa, a crater lake inside an extinct volcano.
There are many variants on the Quilotoa Loop, with no "official" route, but the trail presented here is emerging as the standard route, and if you ask for directions, this is the route to which you'll be directed.
Need to Know
Bring cash (American dollars are the official currency in Ecuador) as there are no ATM's along the loop and no hostels or shops accept credit/debit cards.
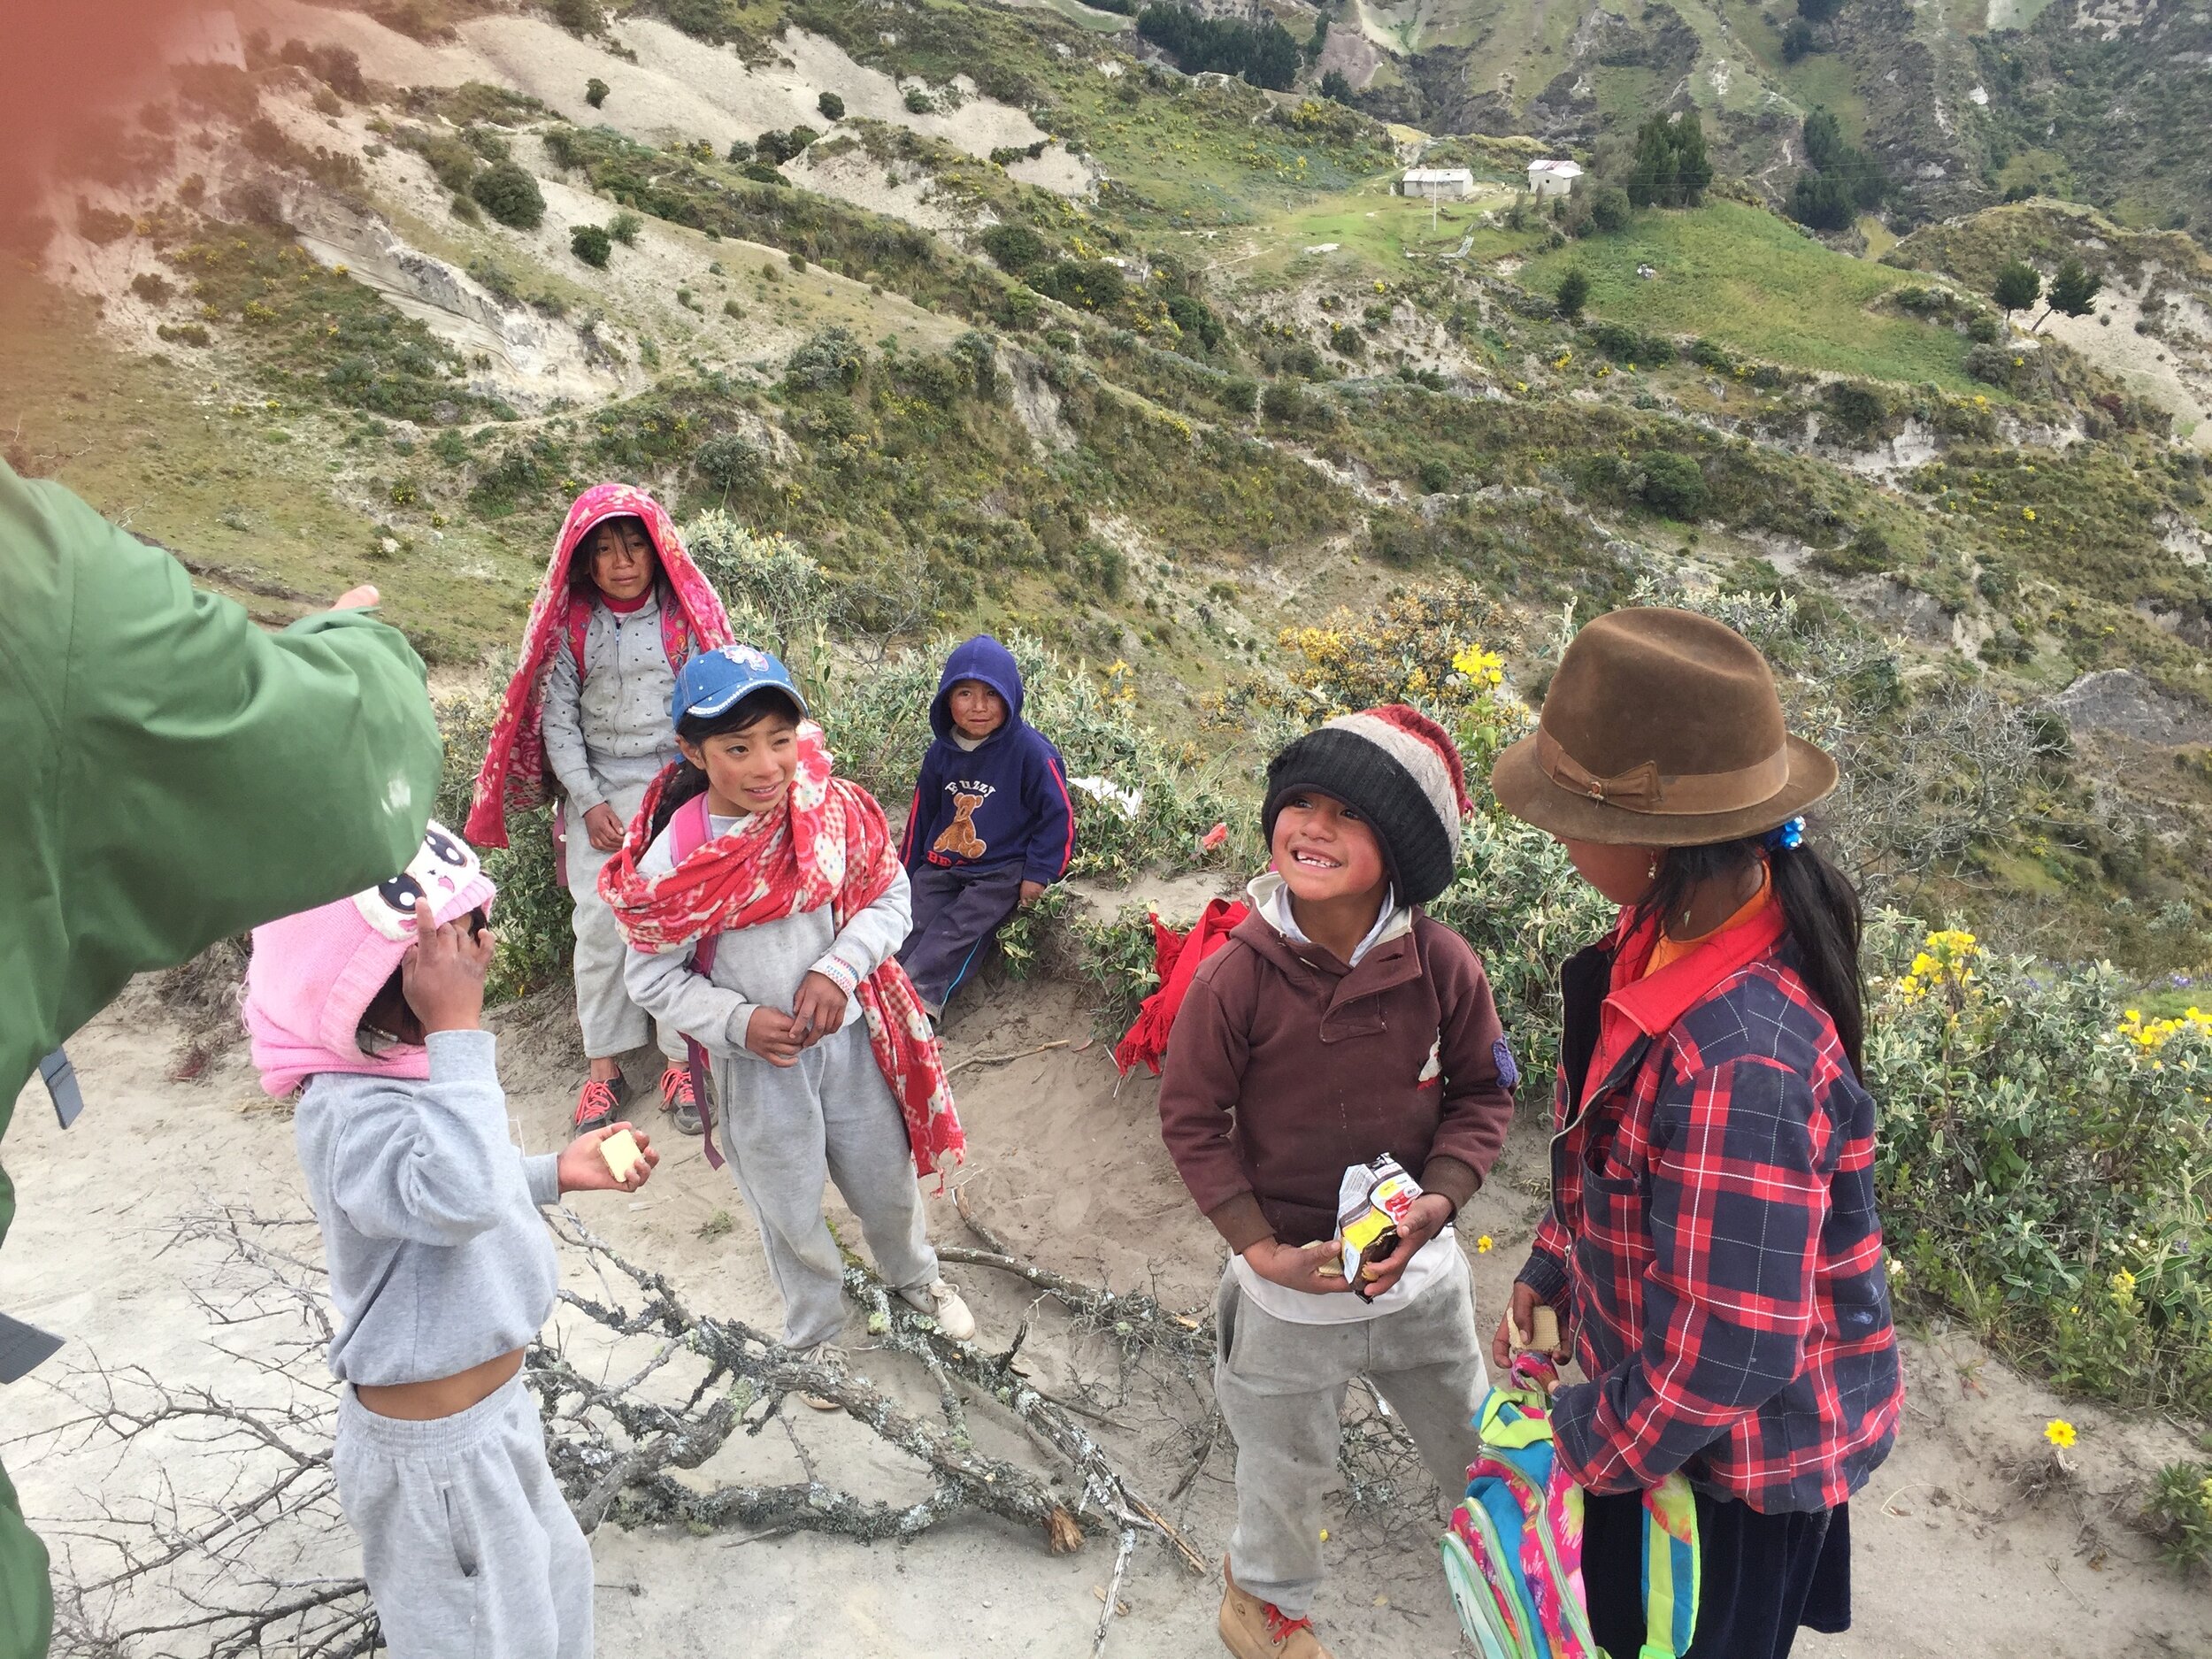
It is helpful to bring small snacks and candy for the children you'll meet along the way.
There are many dogs along the trail, some stray, but most owned by local farmers. They can be aggressive, and it is helpful to hike in a group or bring a trekking pole to help scare them off if needed.
Be mindful and respectful of private property as you'll cross many farms. Close all gates so that livestock cannot escape.
Most of the route is above 9,000 feet, so acclimatize for 1-2 days.
What to Pack:
I left my main backpack in storage at the hostel in Latacunga. I only took with me what I could fit in my small day pack. I used an Outlander 35L Backpack
In you pack you should bring clothing, your passport (or at least photocopies of it), first aid-kit, a headlamp, a phone charger, some toiletries, at hat, and a water bottle.
Clothing:
o Good pair of hiking shoes or trainers
o Pair of shoes to wear at the end of each day (sandals or a closed-in shoe)
o Socks (plus a bonus pair)
o Light pants or hiking shorts (I actually trekked in Jeans)
o T-Shirts
o Puffy Jacket
o Raincoat (this is a MUST!)
o A hat for hiking
o A beanie for cold nights
o Long Sleeve shirt for sun protection
Like in all of my trek guides, keep it simply and pack light.
Other: Pack a deck of cards, this will come in handy at night in the mountains.
Transportation To Sichos:
The best place to jump off from for the trek is the town of Latacunga. Here you can stay the night at a hostel in town and arrange to have your main backpack and items of value stored while you are away on the trek. It is also at the hostels in Latacunga you can get official trek directions, with some places even offering a printout step by step guide to the trek.
Latcunaga Hostel Recommendation: Hostel Tianna
Bus to Sichos:
In Latacunga take a taxi to the bus station. Once inside you will see a long line of different bus companies. You can walk along the terminal to see where each company is going that day. Find a company that says Sichos on its departures sign. They will normally list all the times of the day they are leaving on the sign as well.
You can pick a time and pay for your ticket. When it comes time to leave, just simply go out to the bus terminal and listen for the your bus being called. It will sound something like “ Sichos,Sichos,Sichos!” being yelled from the bus. Show them your ticket to confirm you are getting on the right bus, get on board and get ready for the two hour ride up into the Andes Mountains.
The Trek
Day 1: Sichos > Isinlivi
The trek starts in a mountain town of Sichos.
Do your research about the trek, and get the step by step trek guide printed out at your hostel. I also recommend you download the map on Maps.Me as a backup plan.
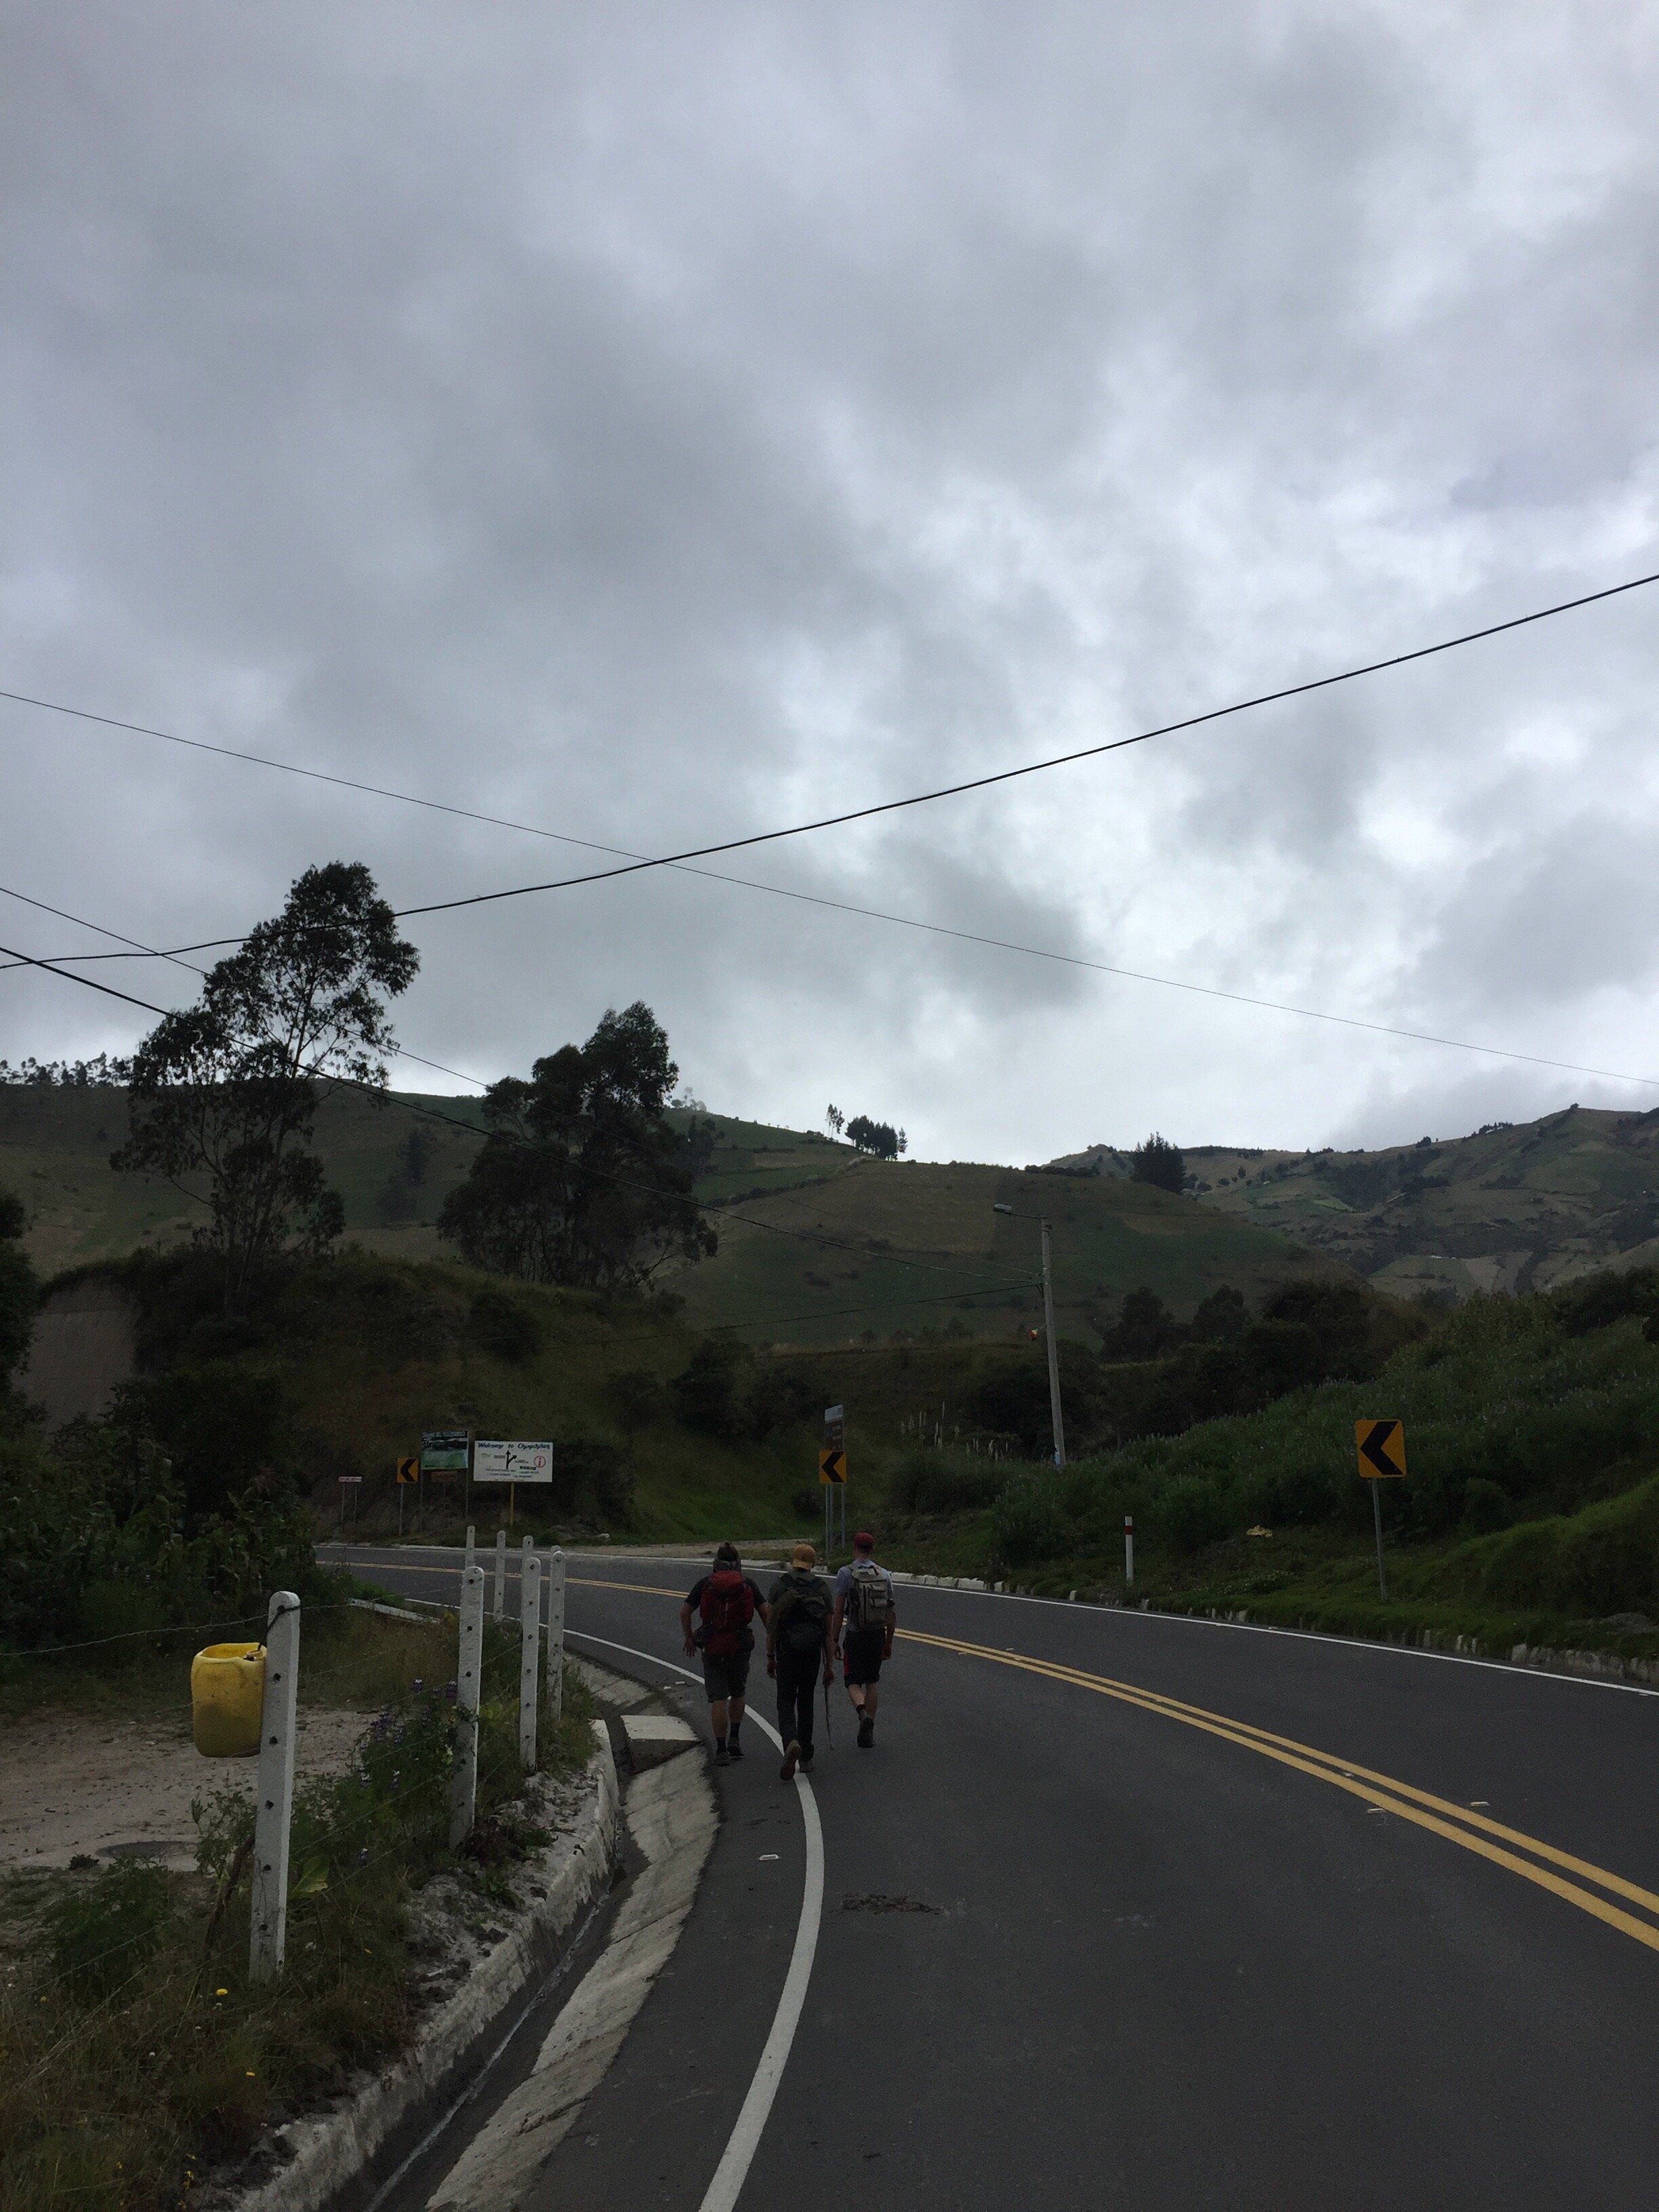
Signage along the route has improved markedly in the past year, and there are clear directional signs and helpful red/yellow blaze markers along the route. However, the route may change or be washed out in areas due to storms and you should always check with a local before starting the day's trek.
Starting in the town's central square, head southwest to the edge of town. Here you'll see a sign pointing to Isinlivi. Follow this sign and the red/yellow blazes along a dirt road, heading roughly south and moving downhill toward the valley floor.
Take in all the green mountain sides, the fresh air, and the complete beauty of where you are. Keep a good pace, as it is best to arrive to Isinlivi before night fall, so you can enjoy the hiker heaven at the famous Llullu Llama Hostel.
Accommodations:
Eco-lodge Llullu Llama: This hostel is a must! Llullu Llama is a Mountain Lodge loved by hikers that have now become one of the most important parts of the Quilotoa Loop experience. The terrace overlooks a gorgeous valley and the sunset.
At night, the 3-course dinner is served, with the guest seated at group tables, contributing to the incredible atmosphere of the hostel, creating exchange and experience sharing.
It is here you can also make some new friends. I arrived solo, with the intention of finding some hiking partners for the rest of the trek.
I stayed in the dorm, that is located upstairs in a sort of loft. Some beds have a privacy curtain, and for one night this was a very comfortable situation.
The hostel also has a spa (steam room and jacuzzi) =>>> Here is a link to check Llullu Llama’s availabilities and rates.
Day 2: Isinlivi > Chugchilan
After breakfast, I recommended you also head into town and re supply on some snacks, and something for lunch ( you can purchase a packed lunch from the hostel, and fill up your water). Today’s hike will take about six hours to complete.
Now maybe wuth a small group of friends who you met the night before at dinner, you will follow the dirt road leading downhill on the southside of the LuLu Llama hostel. The trail will slowly wind downhill until reaching the valley floor, where you'll cross the river on a log bridge with a handrail. Continue to follow the trail along the valley floor, keeping the river on your left hand side.
On this day, you will probably have your first interactions with local farmers and people from the nearby villages. So remember to be respectful, and do not offer any kids money. The ideal thing to share with the children is sweets, like cookies and candy.
Day two ends on a paved road when you are about 2 kilometers from Chugchilan.
Accommodations: Cloud Forest Hostel – very central to the trail, and a popular hikers hostel. They have a well-stocked convivence store and a pretty delicious restaurant as well. At night you can keep warm by the fire stove and play cards with some of the locals.
At 10,000ft, Chughilan itself is a very small village that feels like a place stuck in time. Here you can see how life is lived in what can be called the Old Ways of Ecuador Mountain life. Once you are settled at your hostel, you can take a small walk to the city center, and grab some delicious street food.
Day 3 Chugchilan > Quilotoa
This was by far the most difficult day of trekking. I started to feel the elevation gains a lot, and for the first time, we got lost.
You will probably get up early on the last day, as the excitement to reach the Quilatola is growing. The night before you can arrange to have the hostel make you a packed lunch, grab more essential snacks and drinks, and I suggest you re supply on cookies for the kids.
There are two major variations to this route, both of which are well-marked. The route presented here followsa detour through the town of La Moya and overlooks a waterfall. Follow the road leading out of Chugchilan until reaching a sign pointing to Quilotoa. There will be a route map in town showing the two main routes.
Continue going downhill on the dirt road until you see a sign for La Moya—take the trail to your right, which winds uphill through a farm. You'll follow along the edge of a canyon, keeping the river to your left. When you see the waterfall ahead of and below you in the canyon, the trail will start to wind down the canyon. Cross the stream (requires fording, water levels may vary) with a large waterfall to your right. You'll then climb the canyon and reach a small town.
Following the road leading south from town until reaching a marked trail after ~0.1 miles. The trail will rejoin the road, and slowly climb up to the volcano crater.
You made it!
When I first saw the magnificent view of the crater floor, I let out a huge yell of relief, then my hiking partner did the same. We both dropped to the floor in exhaustion and laughed until it hurt. I can’t explain the over-whelming feeling of joy and accomplishment I was feeling at that moment.
Video made by: Milo Woodward
Just then, the wind picked up and it began to rain and hail on us. Instead of take shelter I sat on the ground under a tree, and just let the rain fall on me. All the while we sat silently, just looking at the green and blue water. As quickly as it came, the rain stopped and sun came out. Once the light hit the crater and the water below, the colors jumped from blue to green, and a massive rainbow appeared over the lake. It was beautiful and captivating, no one said a word.
From here, you can follow the trail to the south along the crater rim to Quilotoa village. Enjoy a delicious hot lunch and a much deserved cold beer.
Transportation back to Latacunga:
As with all good things, it has to come to an end. In this case you are ready for a hot shower and comfortable bed again. If you left your main backpack in Latcugnaga you will want to get back there for the night.
In Quilatola Village, you just got to walk to the outskirts of town, near the main highway. You can identify this location by the large gate and sign that welcomes you to Quilatola. From here you can wait for the next bus going back to Latacunga. There really isn’t a set time schedule for the buses, except I believe they stop running at night.
Depending on your luck, it could arrive shortly, or like in our case about an hour later. The ride back is about 2 hours, but is filled with amazing views and scenery to enjoy.


